
I know by now you all have read Abby's wonderful blogging! Forgive me but I really enjoy calling it blogging! Anyway, I am new to this as well. So, I hope you enjoy my first attempt in the blogging world! We both have some great ideas and hope everyone can get some enjoyment out of The Turquoise Penguin!!!
With spring here and summer right around the corner, it is time for showers! Baby showers of course! I know they happen year around but there do seem to be more this time of year. With this in mind, I wanted to share a fun little project with you... Diaper cakes.
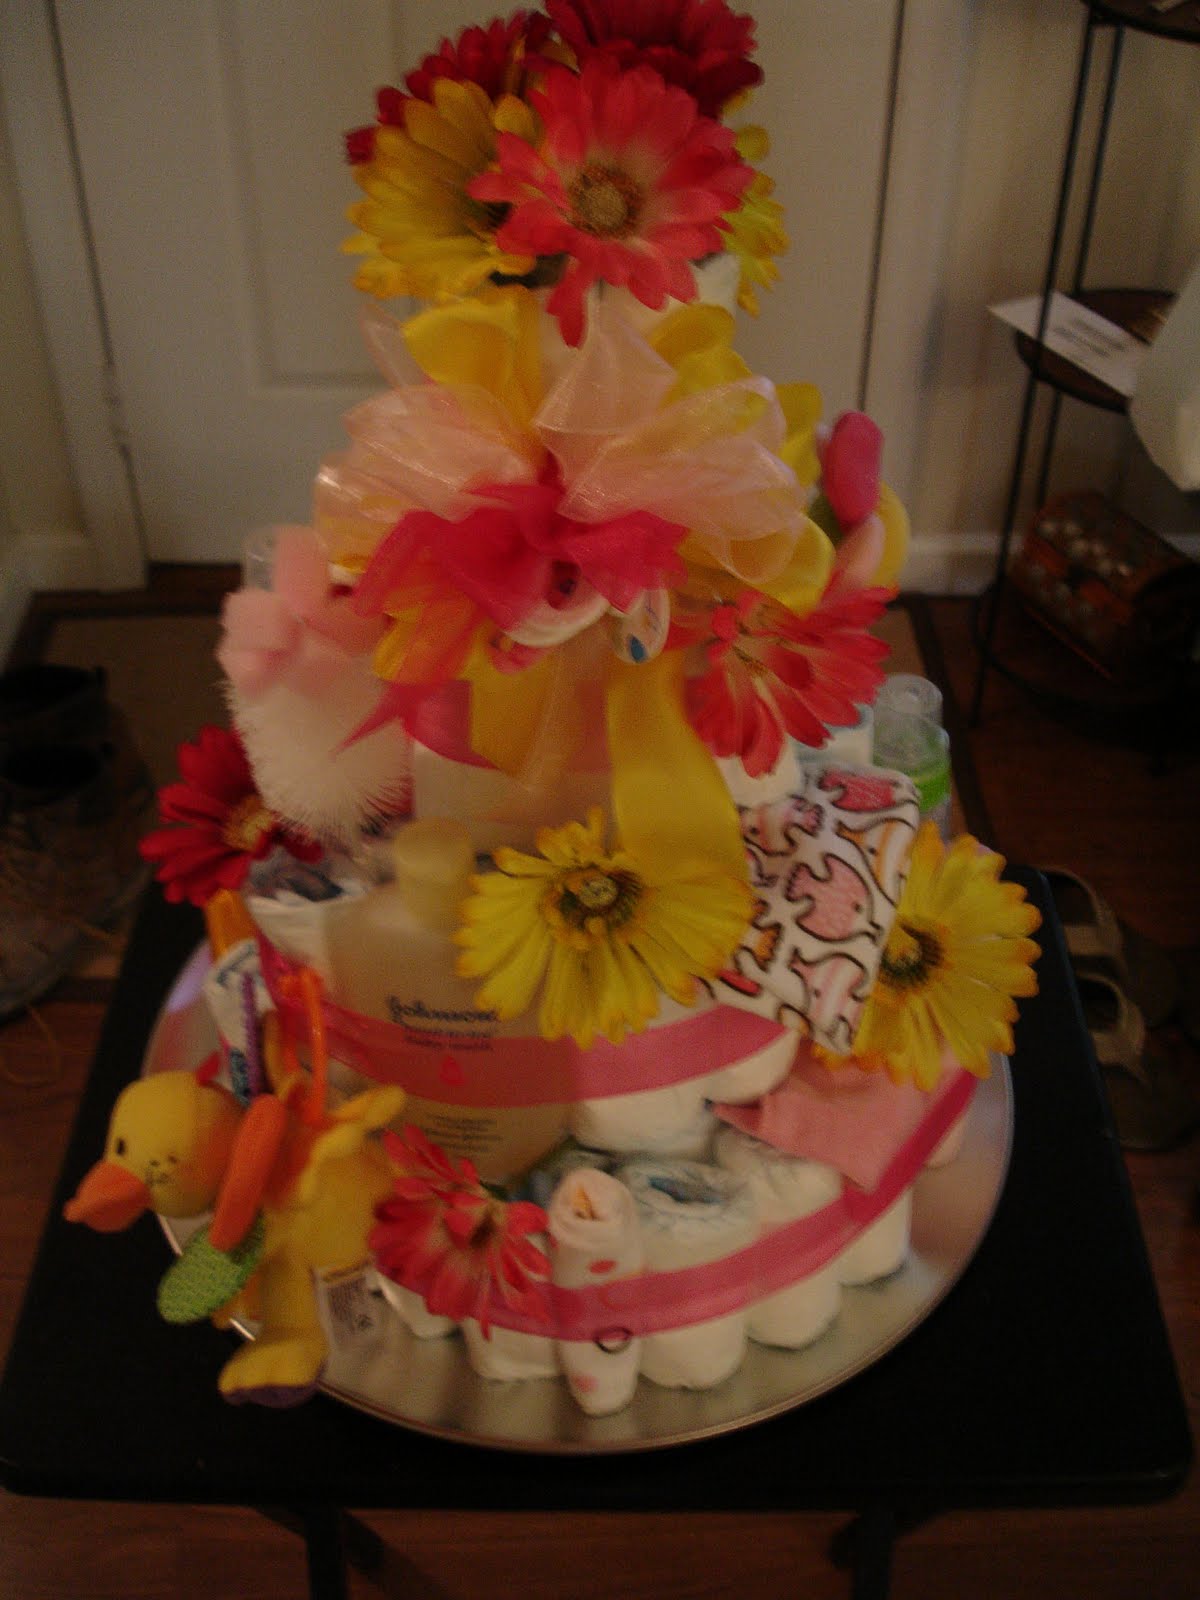
I have made several of these and they are so much fun to do and people love them. They work as a great centerpiece and a great gift. If you are hosting the party, do this as your gift and it does a little double duty for you as decoration as well! Whoohoo!!!
Like Abby said, I apologize for not having any pictures during the making but hopefully I can explain it pretty well. Next time I will take pictures throughout the process. I promise!
"INGREDIENTS":
50-75 diapers
burp clothes/wash clothes
onesies
baby products such as lotions, shampoos diaper rash cream, etc.
baby bottles
pacifiers
stuffed animal or something to use as a topper
ribbon
Now... the ingredients can change depending on how much you want to do. You can add more clothing or maybe a bottle cleaner or even a bigger item if you wish. Completely up to you!
I usually try to follow a theme, maybe the invitation or the bedroom decor. Pick something so you can gather items similar in color to make it look more cohesive.
ASSEMBLY:
Find something to set the "cake" on so you can transport it easily. (I have used an inexpensive cookie sheet and pizza pan. This can be part of the gift as well.)

roll the diapers from end to end and secure with a rubber band.
once you get enough to make a layer of the cake wrap a ribbon around the diapers to secure them as one piece or one layer.
Repeat this for each layer. (I would suggest sticking with 2-3 layers.)
After you have made your layers, tuck the onesies, washclothes, bibs or whatever you have gotten into the layers. Pull out some of the diapers and replace them with bottles or lotion, again using whatever you have purchased.
Top the cake with a stuffed animal or something to finish it off. I used flowers for one cake and I thought it turned out pretty cute! You can tie in pacifiers or rattles anywhere and especially in a bow!

These can also be very cute for a wedding shower or housewarming party. You can use hand towels and wash clothes for the diapers and tuck in kitchen gadgets or household goods like hand soap and candles!
So... good luck, keep an open mind and HAVE FUN.
But... if you just love this idea and can't stand the thought of getting all the items and putting it together, just let us know. We would love to make the next centerpiece for your shower or party!
Have a wonderful weekend everyone!
Kathleen
 See mom, I CAN follow directions!


